Today I cleaned the play area of my toddler. What a big difference it made in how she played.
I am not always on top of keeping my place totally clean, but I would not be embarrassed if someone came over. However, I deep the deep cleaning when Thanksgiving came around. After the holiday, I places on picking up a bit. The kid's room and living room were just littered with toys. As the toys piled up, the less interested she was in independent play.
Today I had enough of wading through the lake of toys and cleaned up. Everyone I do toy clean up, I sort them in general categories.
- books
-stuffed animals
-stacking (block, stacking rings, cardboard bricks)
-things that take batteries
-smaller toy in a bin
-balls
I acquired a 7 ft shelf and it is now on it's side making 8 cubbies for her to access.
Today after putting her toy into the cubbies, leaving the play area floor clean, she was more content to play on her own. Now she can go a pick out the toy she wants and has room to play.
I love to play with my little one and frequently am on the floor playing with her. The independent play gives me a chance to do dishes and other chores. When her toys were every where, she was so clingy that I felt I couldn't get anything done.
Now I see where being neat is very beneficial to all in the home.
Wednesday, December 12, 2012
Friday, December 7, 2012
DIY Reusable Diaper Soaker-liner
This is a quick tutorial for how to make your own soaker-liners for use with cloth diapers. As children grow, so do their bladders and my child seems to soak right through her diaper and cover each time. These soakers help prevent leaks.
Materials:
Flannel
Soaker material (terrycloth or natural fiber batting)
The amount of fabric you buy depends on how many you want to make.
For this tutorial, These soakers have 2 inner layers. You can have as many layers you want, but the more layers you have, the bulkier the diaper will be ultimately.
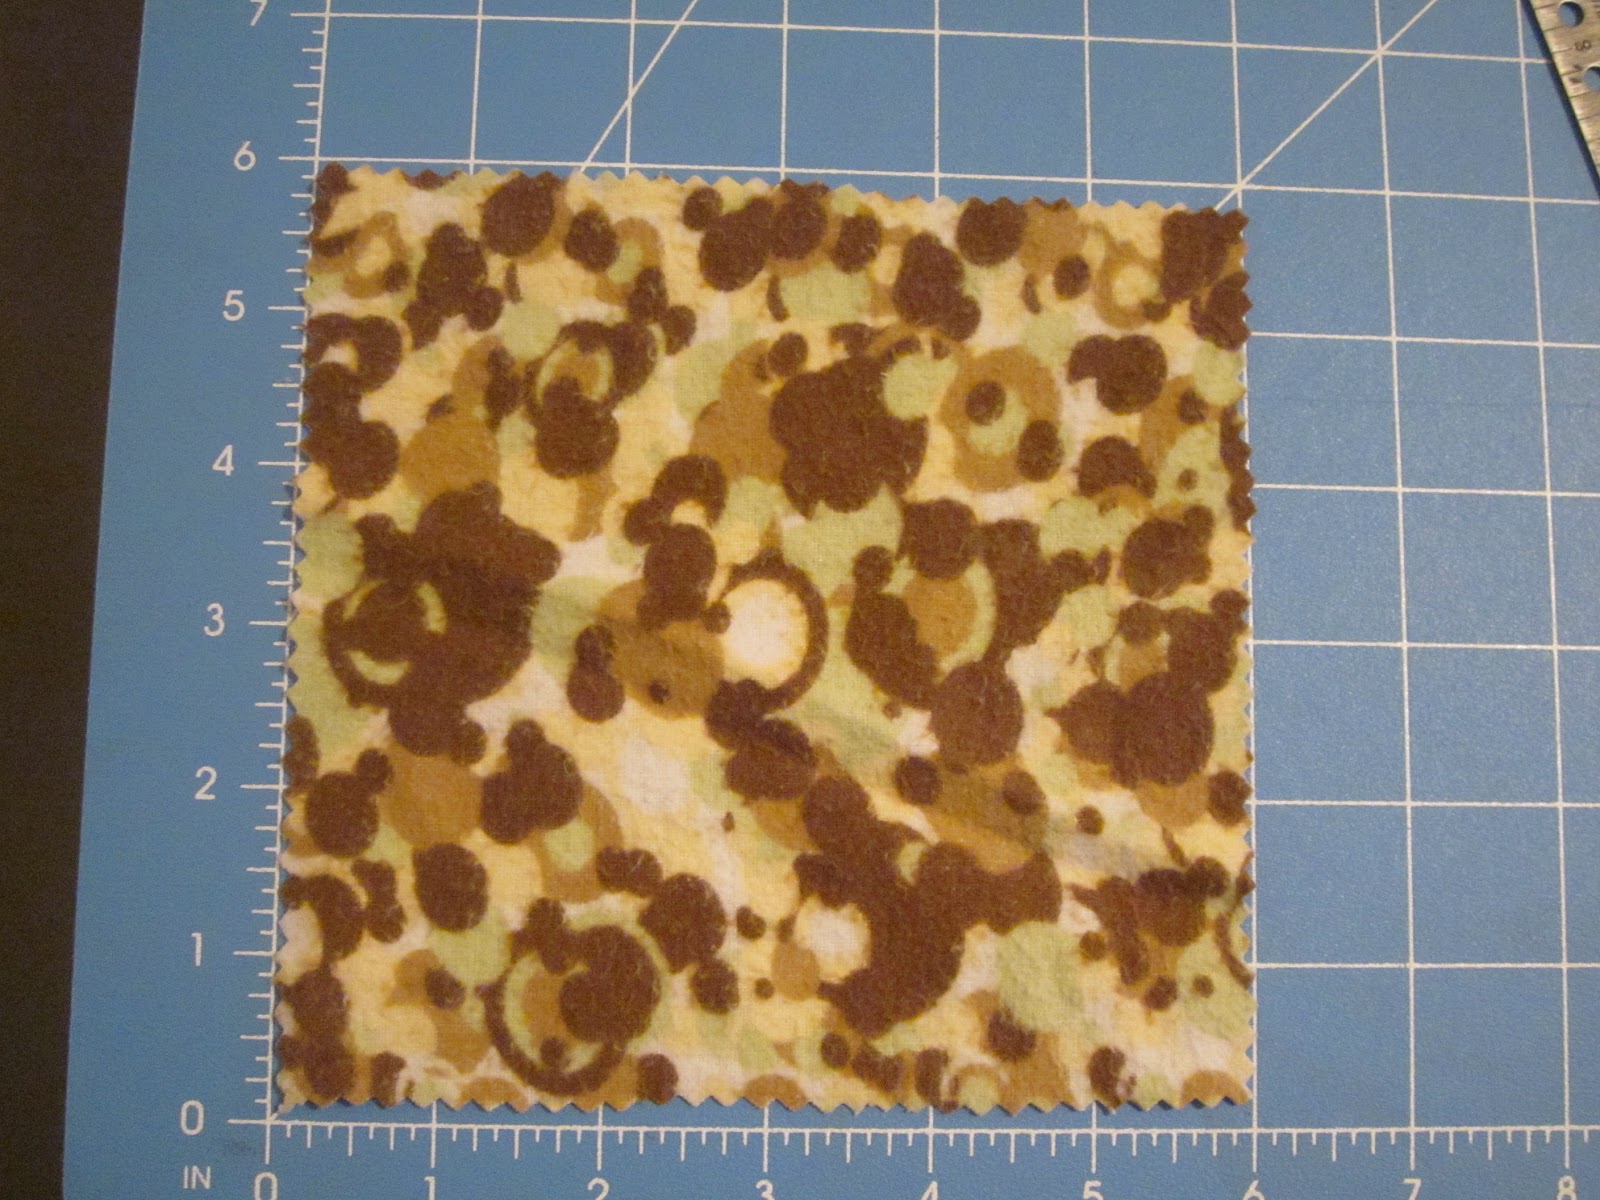
I used terrycloth for the liners here because I found some on sale. I cut prices 8 inches by 6 inches out of the terrycloth. With folding the terrycloth in half lengthwise, you wind up with prices 4x6 inches. At this point you will want to do an edge stitch on your sewing machine or server. Now the inner part is done.
( I did not do an edge stitch, and after washing they all frayed.)


For the outer layer, we are going to make flannel pockets, rather then sewing all the layers together. The reason for this is that in the wash, the liners will wash and dry better. We use flannel for the outside layers because it will be softer, than the terrycloth, agents the skin for less irritation and diaper rash.
Cut the flannel into 9 inch by 7 inch rectangles. Edge stitch or roll hem along one of the 9 inch sides, this will be the open top. Fold in half lengthwise (like the terrycloth), if you have a pattern flannel, make sure the pattern winds up on the inside. Stitch the side and bottom. Turn right side out, and you're done.


I Hope you liked this easy tutorial. I spend less then $10 for 15 of these, where as you could spend up to $5 a piece for one.
Sunday, November 11, 2012
Dress up Trunk
Trying to com up with a Christmas present idea for a 7 year old girl who seams to have everything is really tough. However, this particular girl loves dress up and has no where to put her dress up clothes. *Bing* the light turns on. Why not a dress up box, personalized just for her.
I like to shop at Good Will to see what deals can be had. I was keeping my eye out for a little shelf unit with doors, or a small dresser. Then I saw it. It was a pathetic looking, poorly spray painted trunk. Perfect! and for only $6, what a deal.

 I don't have any picture of how the trunk looked when I took it home.
However, after picking out my out spray paint, and some painter tape, I
got to work and it looked like this. (the little butterfly was added before I remembered to take a pic of just the new paint) Note: since this was painted already, I didn't use a primer. I highly suggest using a primer prior to spray painting anything. I had some problems with flaking.
I don't have any picture of how the trunk looked when I took it home.
However, after picking out my out spray paint, and some painter tape, I
got to work and it looked like this. (the little butterfly was added before I remembered to take a pic of just the new paint) Note: since this was painted already, I didn't use a primer. I highly suggest using a primer prior to spray painting anything. I had some problems with flaking.
This took some time and patience. I sprayed the whole think pink (tapping over the handle). As you all know, please paint in a well ventilated area, preferably outside. After the pink set to dry for 24 hours, I covered the top and sides with tape and news paper so I could paint the trim. I would have likes to have the trim the original brass color, but unfortunately it was already painted over. Pink and blue are Danica's favorite color. So here it was.
I hand painted her name on the top with acrylic paint I already had. The butterflies are really wall decals I picked up for $1. I did trim around each butterfly so there was no "halo" of color from the sticker sheet. A little bit of spray adhesive or dots of super glue will ensure the butterflies will not go anywhere. I wanted the butterflies to be "fluttering" around the trunk, so I fought my "everything straight and neat" impulse and placed them at random. Yes! I did it and it looks cute. After all that, I used some silver paint I have and embellished the name, and gave the butterflies a little butterfly trail. What is neat about the silver paint is that it shimmers a little bit and depending how you look at it, you either see the trails or you don't. Ta-Da, here is the end product!


 I did a lining of felt because there was just raw ply wood inside, and I didn't want any of the play clothes to get snagged and torn. A quick cost of clear over all of it, and it is ready to go. I made sure that it will be something she will like for years to come. Sure, she really likes princesses this year, but who know what she will like in a year. Butterflies are timeless for girls of all ages.
I hope this gives you an idea to go out there and re-purpose something for some one you care for.
~Kit~
I like to shop at Good Will to see what deals can be had. I was keeping my eye out for a little shelf unit with doors, or a small dresser. Then I saw it. It was a pathetic looking, poorly spray painted trunk. Perfect! and for only $6, what a deal.


This took some time and patience. I sprayed the whole think pink (tapping over the handle). As you all know, please paint in a well ventilated area, preferably outside. After the pink set to dry for 24 hours, I covered the top and sides with tape and news paper so I could paint the trim. I would have likes to have the trim the original brass color, but unfortunately it was already painted over. Pink and blue are Danica's favorite color. So here it was.
I hand painted her name on the top with acrylic paint I already had. The butterflies are really wall decals I picked up for $1. I did trim around each butterfly so there was no "halo" of color from the sticker sheet. A little bit of spray adhesive or dots of super glue will ensure the butterflies will not go anywhere. I wanted the butterflies to be "fluttering" around the trunk, so I fought my "everything straight and neat" impulse and placed them at random. Yes! I did it and it looks cute. After all that, I used some silver paint I have and embellished the name, and gave the butterflies a little butterfly trail. What is neat about the silver paint is that it shimmers a little bit and depending how you look at it, you either see the trails or you don't. Ta-Da, here is the end product!


I hope this gives you an idea to go out there and re-purpose something for some one you care for.
Thursday, November 8, 2012
Reusable "tissues" and baby wipes
Fall is upon us, and so is flu and cold season. I have decided to make some reusable tissues for my home. I never remember to buy tissues, and using TP just makes the nose too raw. I got the idea to do this after looking at my little girl's baby wipes. They are soft, durable and wash well. The baby wipes are almost 2 years old and still work as well as day one. Of course the idea of the handkerchief is hundreds of years old, but this project is more along the line of use it and toss it (into the laundry), so you don't have a snot rag in your pocket all day.
What you will need:
Flannel fabric: any color or pattern you, and as much as you want, to make as many tissues you want.
Thread to match or contrast
Sewing machine or Serger
Scissors/ pinking sheers or rotary cutter (with matt)
Ruler
Pre-wash all fabric to accommodate for shrinking and so you can go right to using these once you are done sewing.
My tissues are 6x6 in. If you want to measure a standard tissue or do other dimensions that is you choice. Cut your flannel to size, as many as you think you will need. If you don't have a serger or a sewing machine that does a edge stitch, I suggest you use the pinking sheers.


With the pinked edge tissues, you can use any kind of stitch you want around the edge. Here you can see a couple I have done.

 Here you can see that after a lot of use, they do fade, but the fabric is still soft and holds great.
 I just used an old baby wipes container for my cloth wipes. After I use a wipe, it gets tossed in the the diaper laundry. Note: the wipes are cut to a different sized than the tissues (about 6x9in), but the process is all the same.

For my tissues, I used this tin canister. I like to stack mine one by one in the tin, but if you don't care, they can go in crumpled too. I suggest that you get a mesh bag (like you would use for socks) to put the used tissues into, that way you don't have to sort them from your regular laundry. Wouldn't want to got to work with a flannel tissue stuck to your arm pit.
So go out to your favorite fabric store and get some flannel (hit the discount remnant shelf first to try to save some money) and get to sewing. Make some in different colors for each member of the family or make larger ones for clean up rags. You will find that not buying tissues all the time, will save you some time and money. Enjoy this project. ~Kit~
What you will need:
Flannel fabric: any color or pattern you, and as much as you want, to make as many tissues you want.
Thread to match or contrast
Sewing machine or Serger
Scissors/ pinking sheers or rotary cutter (with matt)
Ruler
Pre-wash all fabric to accommodate for shrinking and so you can go right to using these once you are done sewing.
My tissues are 6x6 in. If you want to measure a standard tissue or do other dimensions that is you choice. Cut your flannel to size, as many as you think you will need. If you don't have a serger or a sewing machine that does a edge stitch, I suggest you use the pinking sheers.
This one is pinked. The pinking will fray, but the stitching will keep it together.
Now, sew around each tissue close to the pinking, or very near the edge if you did straight cutting.

You can see the difference between straight edge and pinked.

With the pinked edge tissues, you can use any kind of stitch you want around the edge. Here you can see a couple I have done.

Here are a couple of wipes and as you can see the bottom one has frayed a little bit, but I still use it. The top one I edged better and it holds together great, even after almost 2 year of being washed 2 times a week.

 I just used an old baby wipes container for my cloth wipes. After I use a wipe, it gets tossed in the the diaper laundry. Note: the wipes are cut to a different sized than the tissues (about 6x9in), but the process is all the same.
For my tissues, I used this tin canister. I like to stack mine one by one in the tin, but if you don't care, they can go in crumpled too. I suggest that you get a mesh bag (like you would use for socks) to put the used tissues into, that way you don't have to sort them from your regular laundry. Wouldn't want to got to work with a flannel tissue stuck to your arm pit.
So go out to your favorite fabric store and get some flannel (hit the discount remnant shelf first to try to save some money) and get to sewing. Make some in different colors for each member of the family or make larger ones for clean up rags. You will find that not buying tissues all the time, will save you some time and money. Enjoy this project. ~Kit~
A bit about me and why I'm.here
I am a stay at home mom. Sure, I stay busy with chasing my little girl around, but I like to spend "me time" doing some sewing. I have become a little bit more environmentally minded since I had my baby. I use cloth diapers and wipes, with a home formula for wipe liquid. From there I have done several other sewing projects to improve my life and make my life a little greener. I'm not here to tell you to recycle everything, that you have to use cloth diapers because they are better for the environment. I am here to show you how to make thing for at home that will help you save some money. There will be other kinds of posts on here too, other projects that I have done that don't really have anything to do with making life cheaper or greener. I hope you enjoy my Blog (this being my first one, so bear with me). My spelling my be wrong from time to time, I may go off on tangents that have nothing to do with what I'm doing, or instructions my be more confusing then I intend. Therefor, feedback is welcome.
Thanks for visiting my Blog
~Kit~
Thanks for visiting my Blog
~Kit~
Subscribe to:
Posts (Atom)